
Simple Steps to Install Webmin&Virtualmin
Webmin Installation Process:-
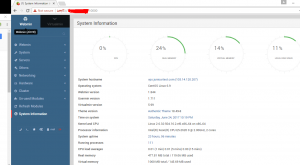
Webmin is a system administration tool that makes it simpler for admins to manage their linux boxes.
Step1:-Install required perl module first
"yum -y install perl-Net-SSLeay"
Step2:-Download the latest version of webmin from bellow url and install it
wget http://download.webmin.com/download/yum/webmin-1.550-1.noarch.rpm
rpm -Uvh webmin-1.550-1.noarch.rpm
vi /etc/webmin/miniserv.conf
Step3:-Add at the last line:ip address you allow to access
allow=yourpublicip 10.0.0.0/24
Step4:-Restart the webmin “/etc/rc.d/init.d/webmin restart”
4)Access to “https://ipaddress:10000/”
Virtualmin Installation Process:-
virtualmin is a module that sits on top of webmin,that provides functionality for non-root users to manage their shared hosting accounts.For example, Virtualmin allows a given user to manage the details for a domain — adding email accounts, managing DNS entries— all within the context of that particular domain.
Step1:-Download the latest version of virtualmin from bellow command and install it
wget http://software.virtualmin.com/gpl/scripts/install.sh
sudo sh install.sh
Once it has completed you it shows”ssapi mod_ssl ruby ruby-devel rubygems perl-XML-Simple perl-Crypt-SSLeay: Succeeded.”
Step2:-Access to “https://ipaddress:10000/”
This Guide starts after the installation of Webmin, You can find the guide here